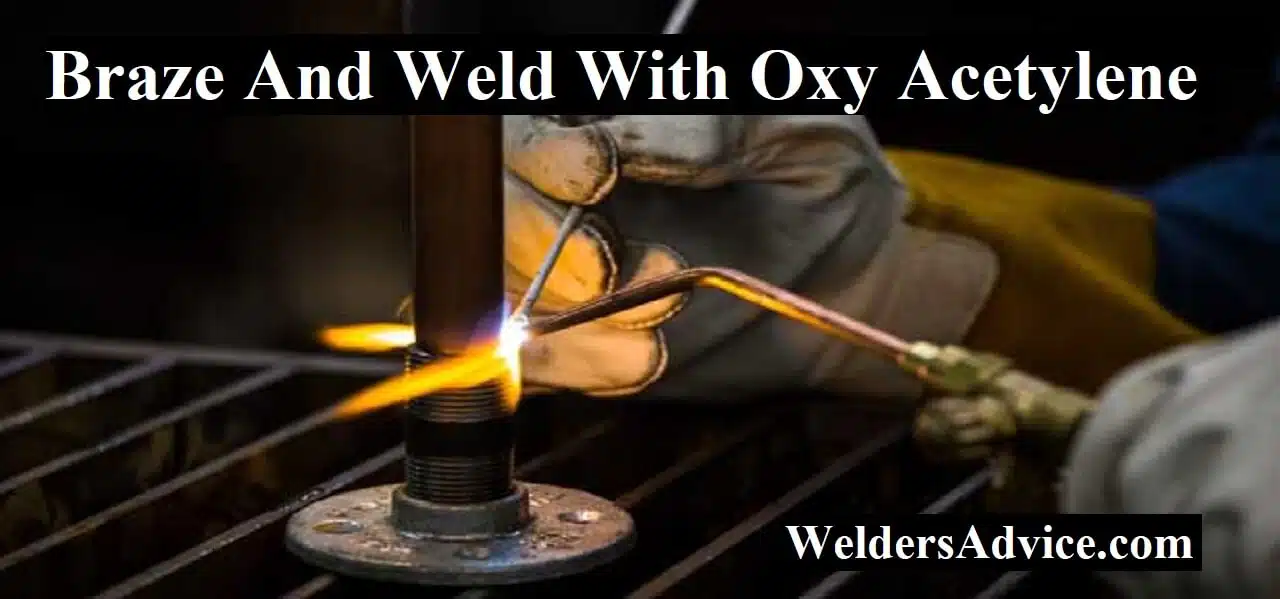
Do many people ask How to Braze With W-200 Welding Torch? To braze with a w-200 welding torch, follow these steps:
- Clean the area to be brazed,
- Add flux to the joint,
- Heat the parts with the torch, add the filler metal,
- And allow the joint to cool slowly.
Brazing is a process that joins metals by heating them to a temperature below their melting point and then adding a filler metal that melts and flows into the joint via capillary action.
- Understanding The Basic Features Of W-200 Welding Torch
- Safety Precautions And Tips For Using W-200 Welding Torch
- Step-By-Step Guide To Welding With W-200 Welding Torch
- Advanced Techniques For Mastering Welding With W-200 Welding Torch
- Troubleshooting And Maintenance Of W-200 Welding Torch
- Frequently Asked Questions
- Final Thoughts
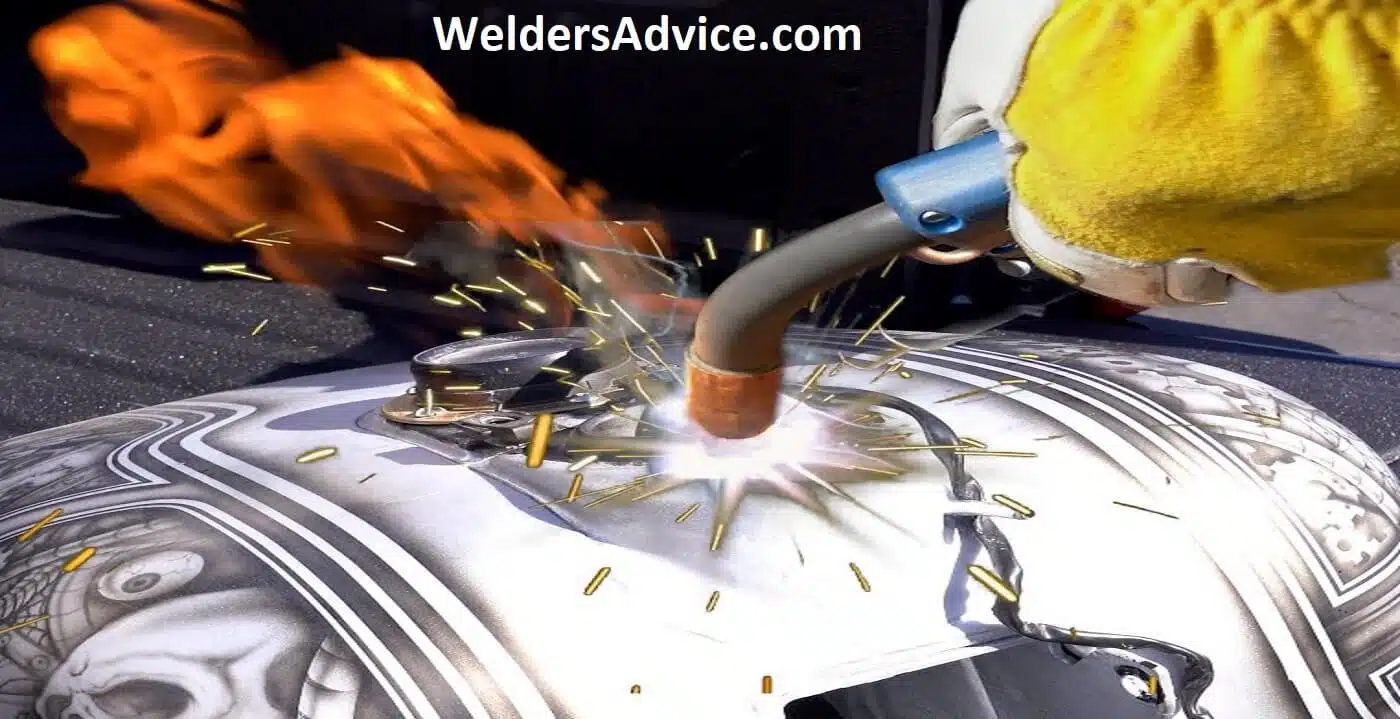
The w-200 welding torch is a common tool used for brazing due to its ability to produce a small, intense flame that is easy to control. Before brazing, all parts should be thoroughly cleaned to remove any oils, dirt, or other contaminants.
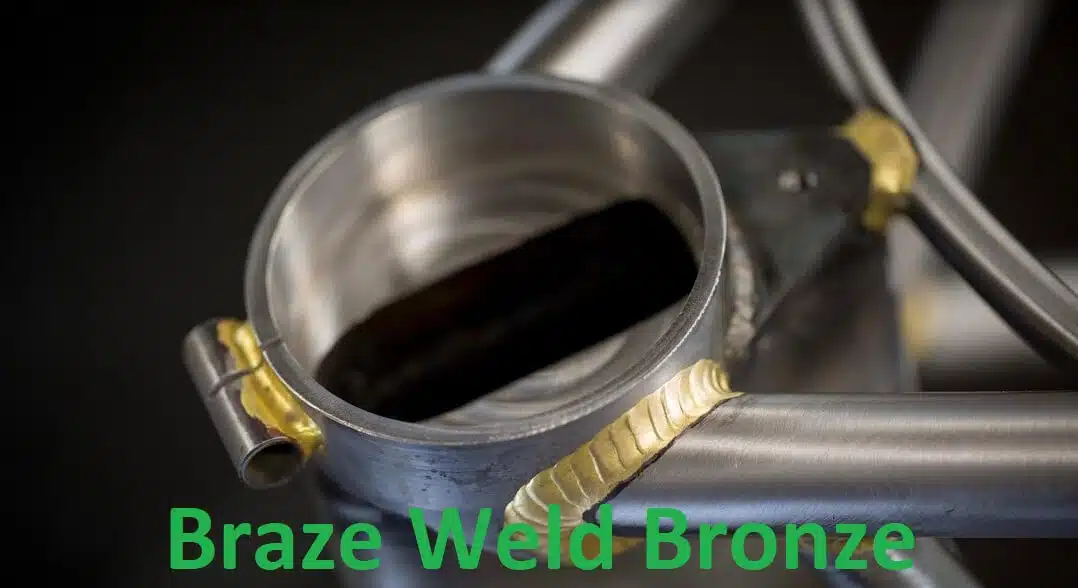
To ensure a strong, durable joint, be sure to follow the correct brazing techniques and use the correct filler materials.
Understanding The Basic Features Of W-200 Welding Torch

Welding can be a challenging task, but the w-200 welding torch makes it easier. This torch has numerous benefits, including its key characteristics, which include its lightweight and durability. Understanding the essential components of the w-200 welding torch is fundamental before use.
Its ergonomic handgrip ensures a secure grip and reduces operator fatigue. Its compact design makes it perfect for tight spaces. The w-200 welding torch has a replaceable orifice tip, making maintenance a breeze. Welding with the w-200 welding torch provides clean and accurate brazing, saving time and getting the job done right the first time.
Its key characteristics, durable features, and benefits make it a reliable choice for any professional or DIY welder looking to achieve the best results.
Safety Precautions And Tips For Using W-200 Welding Torch
When using a w-200 welding torch, safety should be your top priority. To avoid burns and injuries, wear a welding helmet, gloves, and fire-resistant clothing. Ensure that your workspace is well-ventilated, and keep flammable materials away from the torch. Always inspect your equipment before use, and avoid using damaged or faulty parts.
Additionally, make sure that you are proficient in using the torch before starting any project. Keep in mind that accidents can happen despite precautions, so always have a first aid kit on hand. Finally, never leave the torch unattended, and turn it off after use.
By following these safety tips, you can minimize the risk of injury and work with confidence.
Step-By-Step Guide To Welding With W-200 Welding Torch
Welding with the w-200 welding torch is an intricate process that requires some preparation. First, clean the metal you plan to weld thoroughly. Next, cut the metal to the desired shape and size. Then, use a filler rod to join the pieces of metal.
When using the w-200 welding torch, it’s important to hold the torch at a precise angle and distance from the metal to avoid overheating or underheating. One common mistake when using this torch is to not let the metal cool enough before moving on to another section.
To avoid this, take your time and work in small sections. With the proper techniques and attention to detail, you will successfully braze with the w-200 welding torch.
Advanced Techniques For Mastering Welding With W-200 Welding Torch
If you’re looking to take your welding skills to the next level, mastering the art of welding with a w-200 welding torch is essential. With advanced techniques, you’ll be able to achieve aesthetically pleasing results that will impress everyone. One important aspect of welding with a w-200 is to use it when welding materials with different melting points.
Troubleshooting And Maintenance Of W-200 Welding Torch
Brazing can be a tricky process, especially when dealing with the w-200 welding torch. However, by following some basic troubleshooting tips and maintenance techniques, you can easily overcome common issues. Firstly, make sure to clean the torch after every use to avoid clogging.
Additionally, check for any loose connections before starting the brazing process. In case of an issue, make sure to refer to the instruction manual for proper guidelines. Proper maintenance of the torch will make sure that it lasts a long time and performs efficiently.
Lastly, always wear safety equipment and follow all necessary safety precautions while brazing. With these tips in mind, you can easily use the w-200 welding torch with precision and ease.
Frequently Asked Questions
How Do I Light A W-200 Welding Torch?
To light a w-200 welding torch, turn on the acetylene valve, then use a striking lighter to ignite the acetylene. Adjust the flame by turning the valve until it’s even and the color is blue.
What Kind Of Gas Is Used For Brazing With A W-200 Torch?
Oxy-acetylene is the most common gas used with the w-200 welding torch for brazing. This gas provides high temperatures and is perfect for melting metals quickly. Always check the manufacturer’s instructions for proper gas use.
What Are Some Safety Tips For Brazing With A W-200 Torch?
When using the w-200 welding torch, ensure that you wear the appropriate ppe such as gloves, goggles, and a face shield. Always work in a well-ventilated space to avoid inhaling fumes. Keep a fire extinguisher next to you at all times.
What Kind Of Metals Can I Braze With A W-200 Torch?
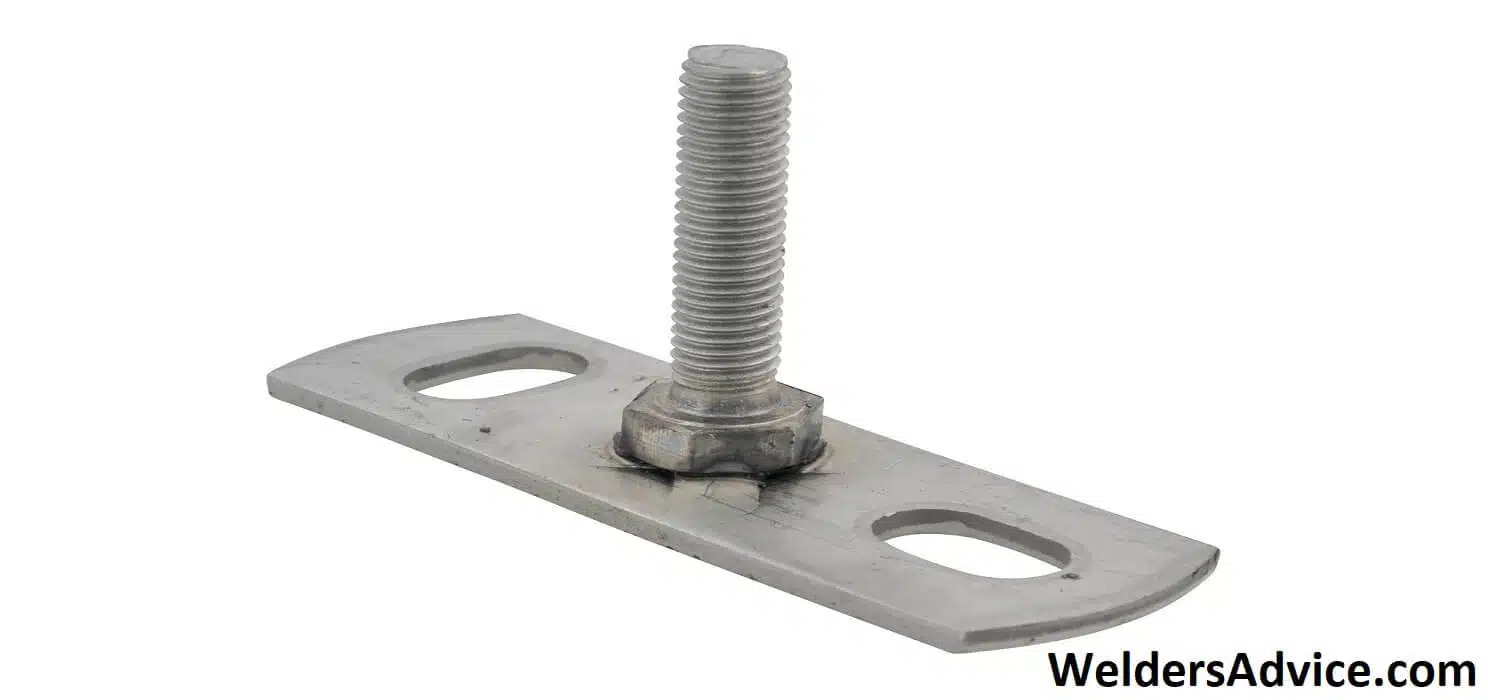
The w-200 welding torch can be used for brazing copper, brass, steel, and aluminum alloys. It’s important to understand the specific requirements of each metal prior to brazing. Make sure to take the necessary safety precautions and read the manufacturer’s instructions before beginning.
Can I Adjust The Flame Intensity On A W-200 Torch?
Yes, you can adjust the flame intensity on the w-200 welding torch by turning the valve until the flame is even. The color of the flame should be blue. If the flame is too long or too short, adjust the valve accordingly.
Final Thoughts
After reading this guide, it’s clear that using the w-200 welding torch for brazing is a great choice for those looking for high-quality results. The w-200 offers exquisite accuracy and control, making it easy to handle and operate even for beginners.
We’ve walked you through the essential steps of brazing with the w-200 torch, from preparation to the actual brazing process, with all the necessary tools and precautions. With regular practice and adherence to safety measures, you can perfect your brazing skills with the w-200 and achieve professional-quality results.
Don’t forget to keep your workplace and tools clean and organized to ensure excellent brazing results every time. Thank you for reading this guide, and we hope it has been helpful in enhancing your brazing skills with the w-200 welding torch.